Introduction
Samsung Dex is perfect, as long as you don’t plug it into an “unsupported” monitor.
It was not a big problem initially, until the first time I brought it to my workplace – where a 4:3 1280x1024 monitor is provided. I tried to connect my Samsung Phone to the monitor as usual. However, it failed to detect the 4:3 aspect ratio monitor.
Thankfully, I finally figured out a way to customize the Screen Resolution of Samsung Dex, by using the phone itself only.
Prerequisite
- A Samsung Phone which supports Samsung Dex(Android 11+ will be better)
- A cable to connect your phone to the Monitor
- Termux App
- Shizuku App
Steps
Enable the Developer Options
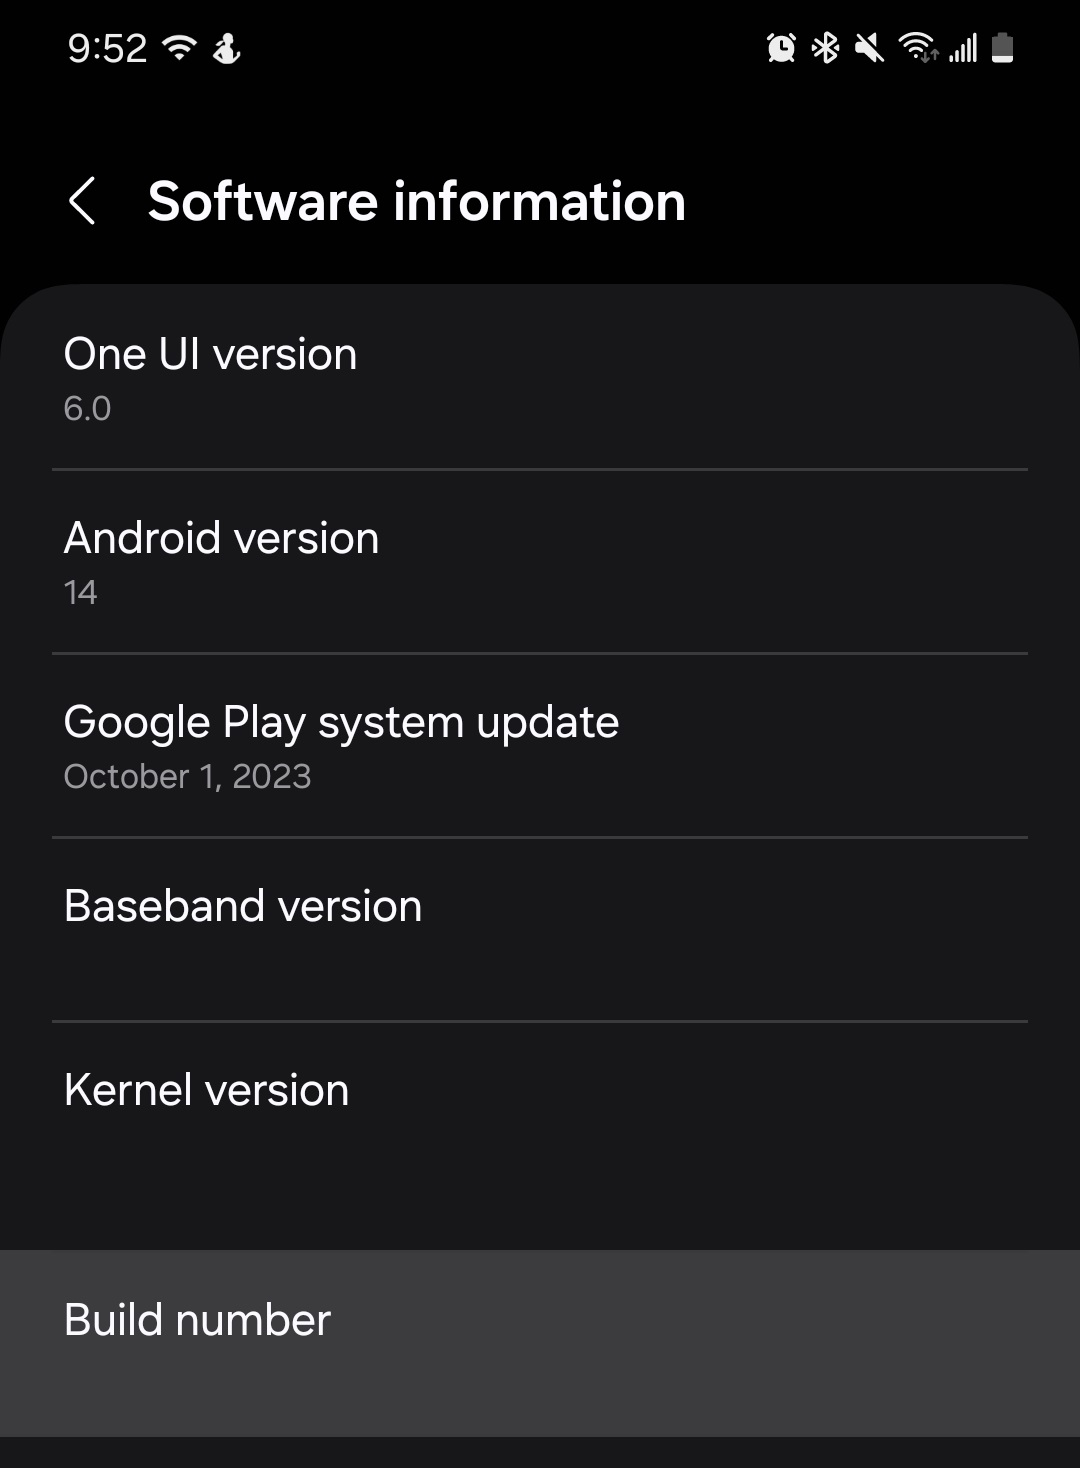 Enter the “Software Information” section under the “About Phone” in the Settings, then tap the “Build Number” 7 times.
After that, a prompt will be shown to notify you that you have become a Developer.
Enable ADB Debugging
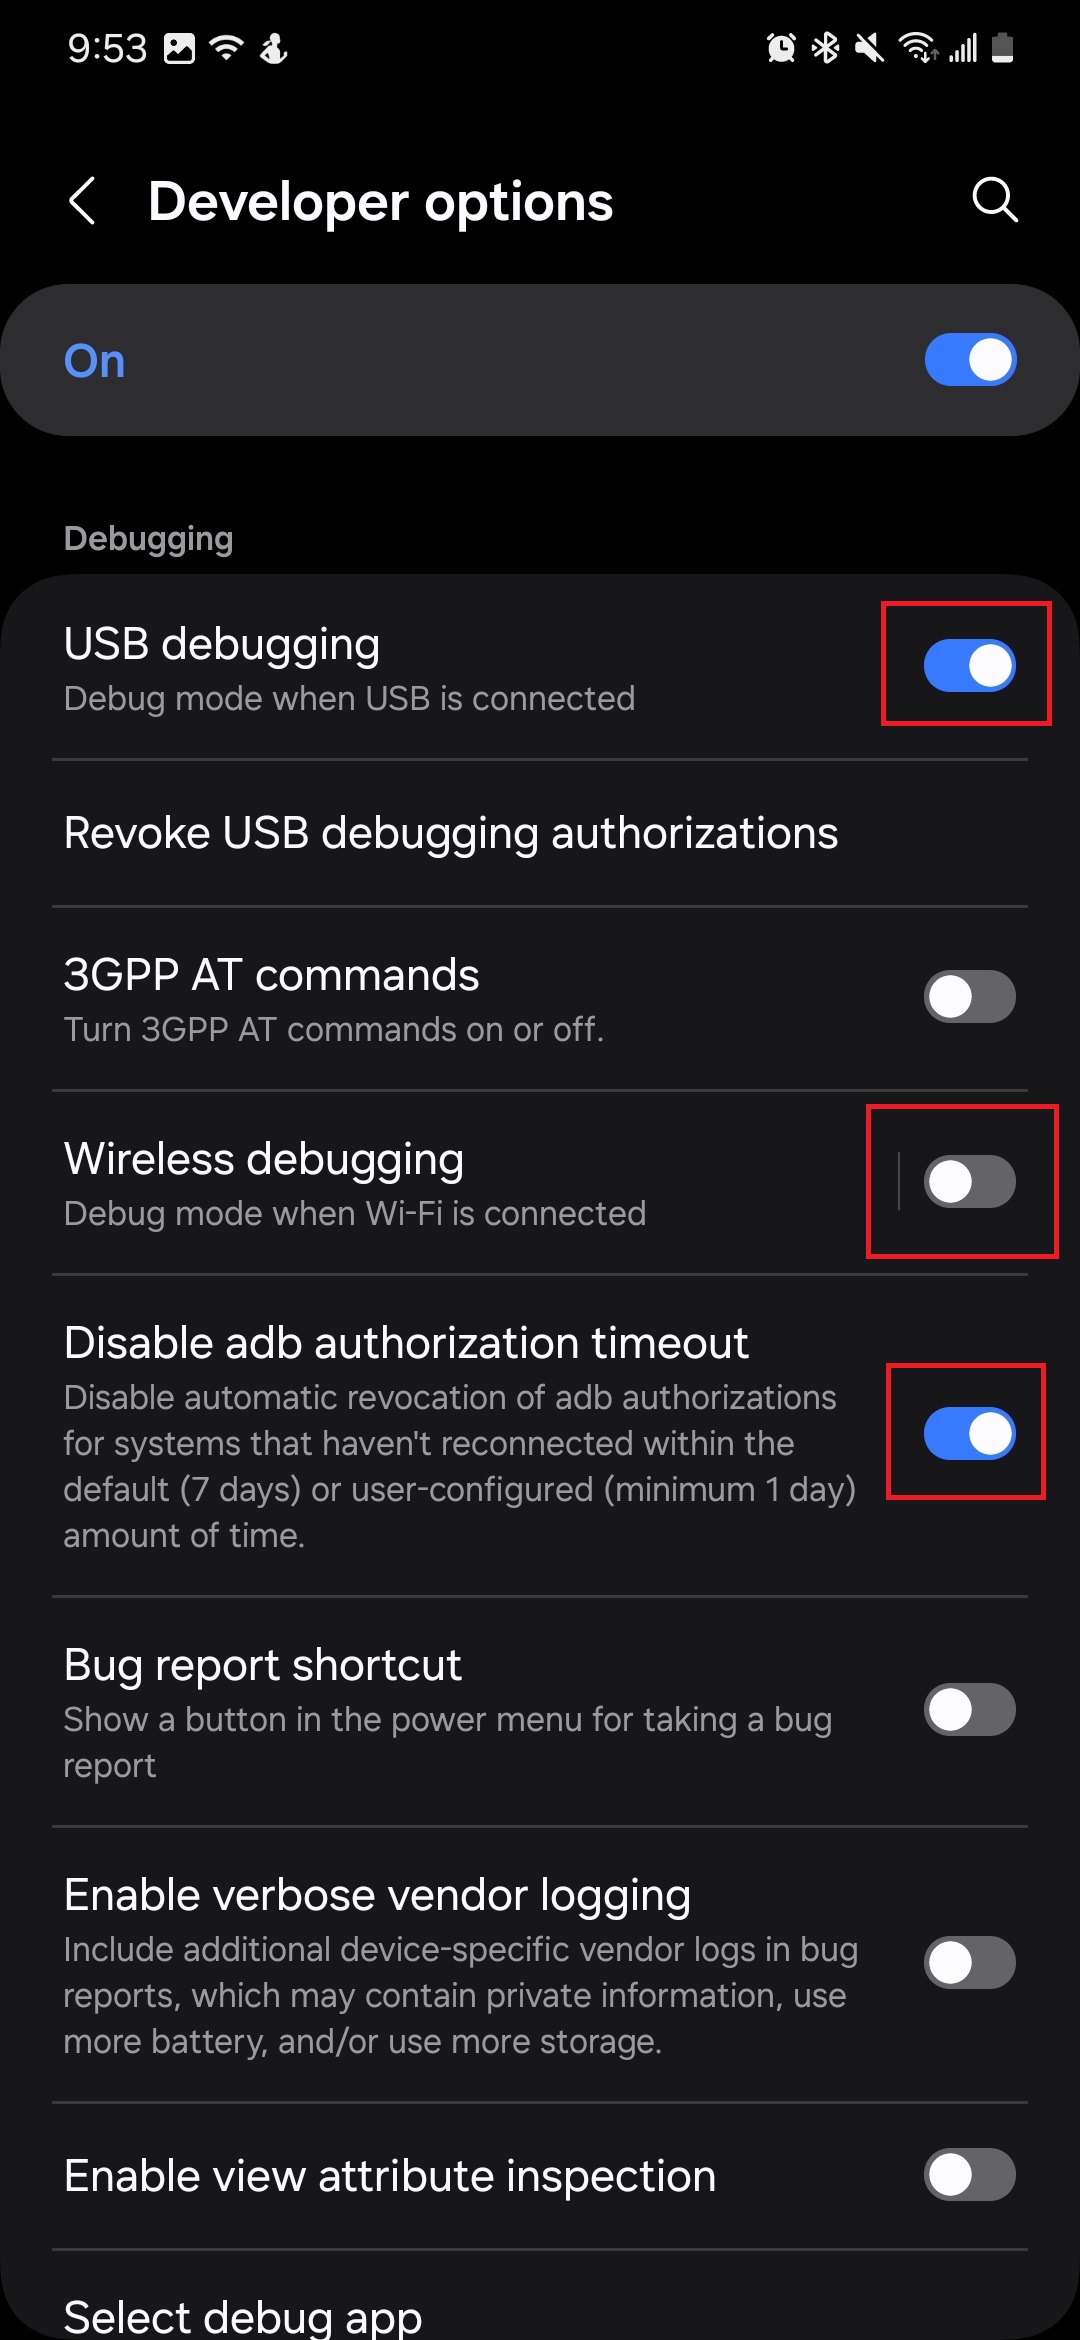 Enter “Developer Options” and turn on the items highlighted by the red boxes.
Install Shizuku

Shizuku is an app for you to directly call the System’s API on your phone, which allows you to modify the screen resolution settings on your phone.
Start Shizuku
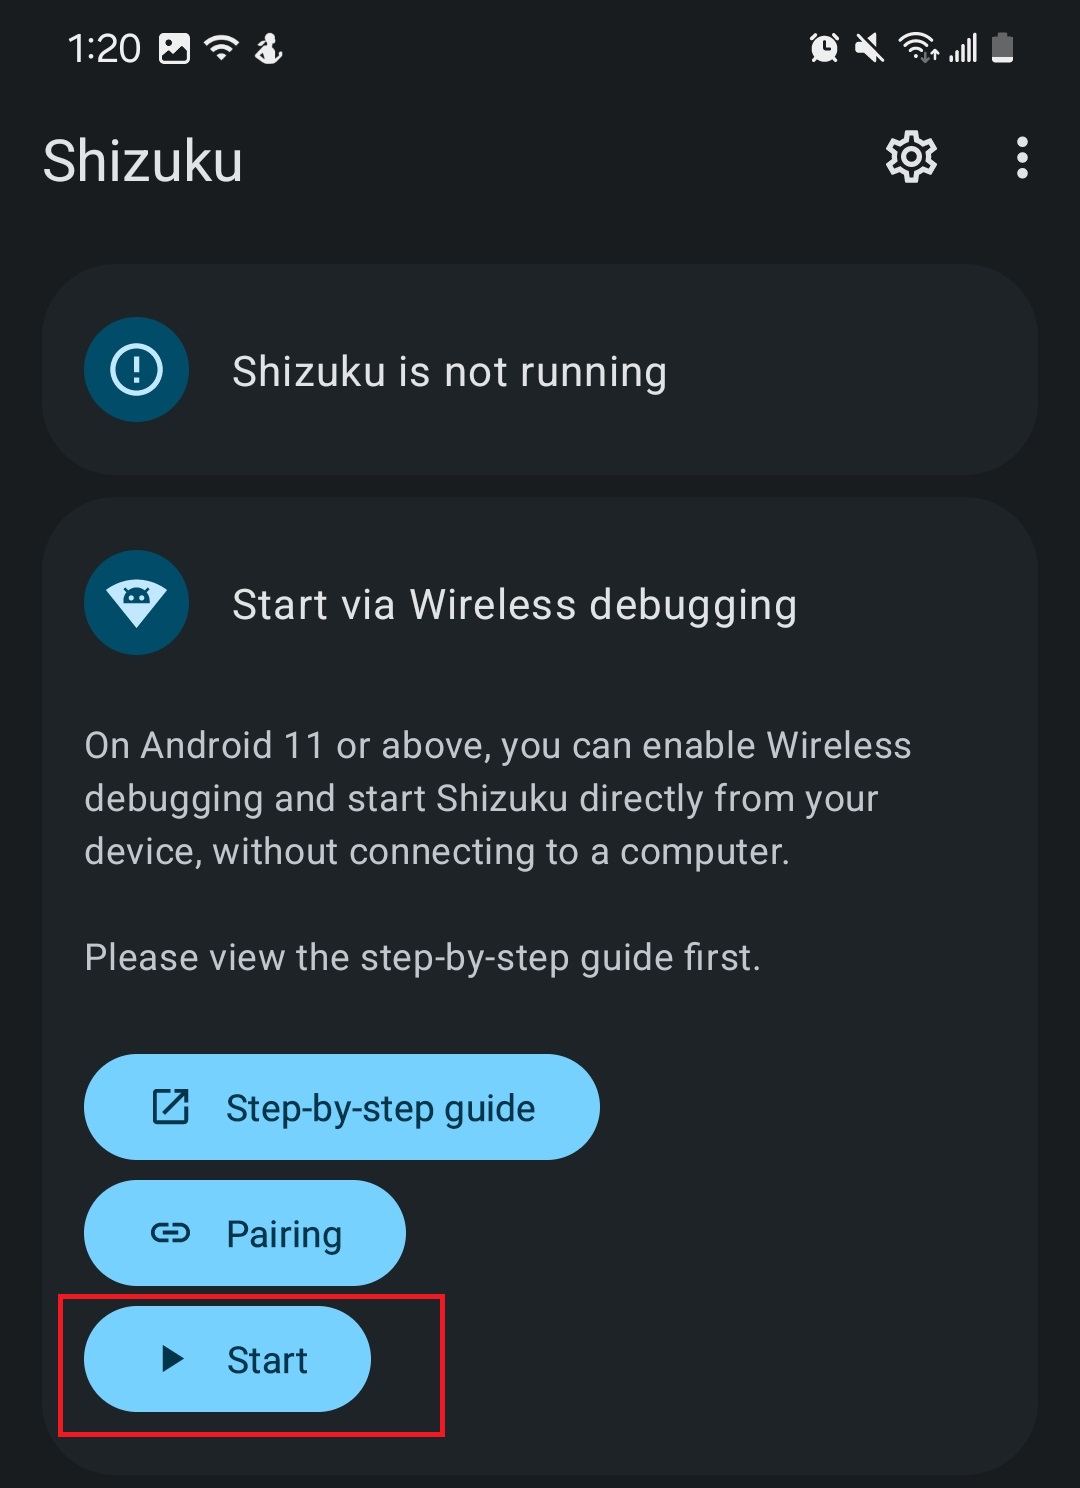 Click “Start” to start the Shizuku Service. Make sure that you have turned on the Wireless Debugging.
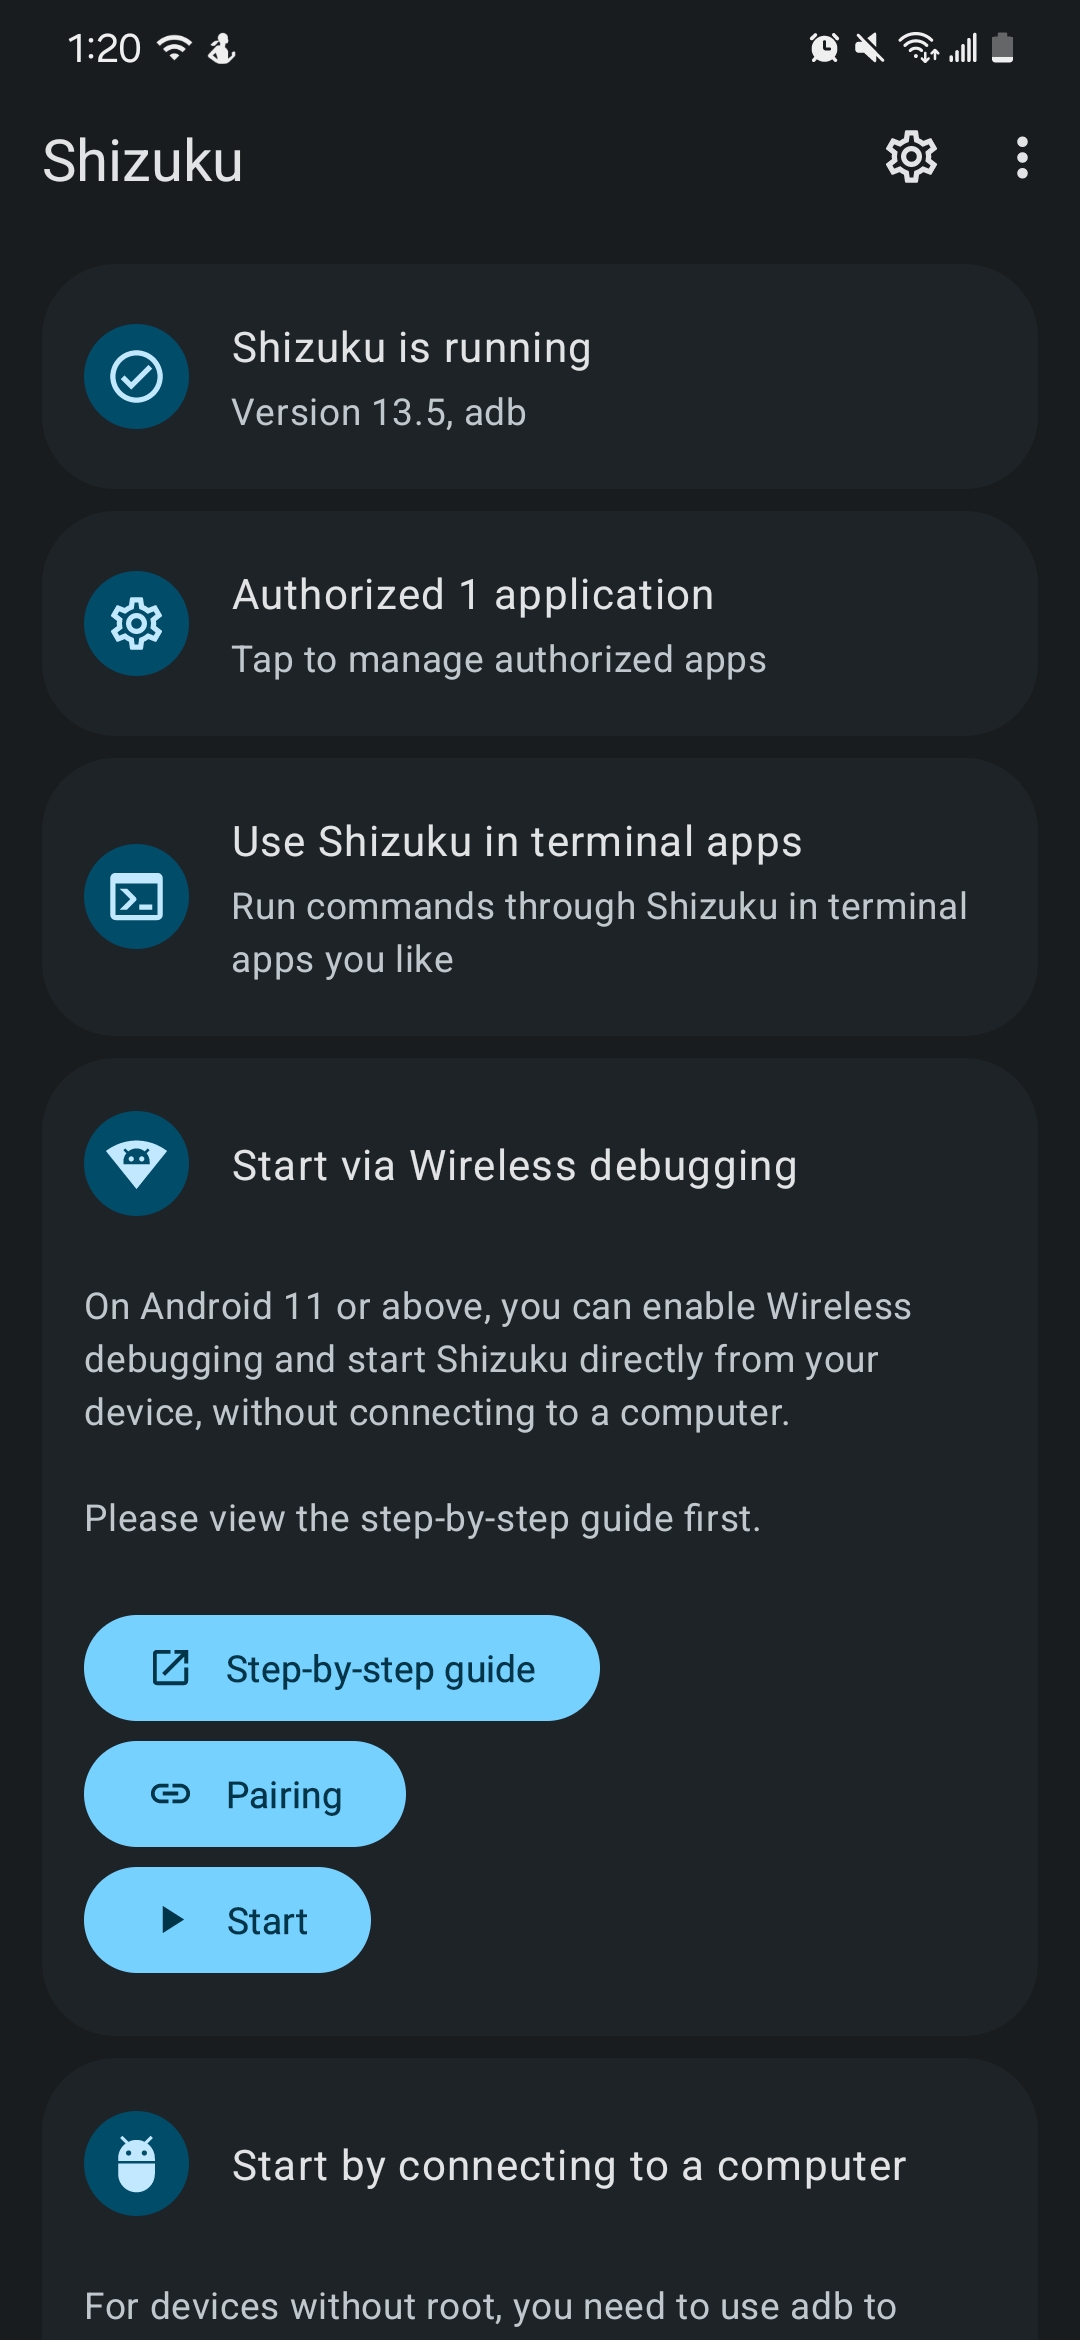 If the service has successfully started, the “Shizuku is running” will be shown.
Install Termux
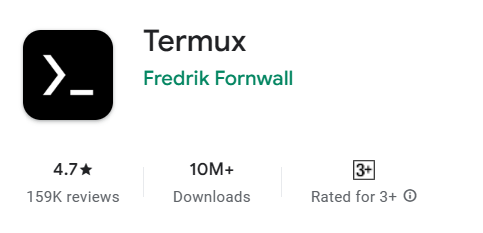
Termux on Play Store
Termux on F-Droid (Recommended)
Termux is an Android Terminal Emulator, which allows you to run shell commands on your phone. It is recommended to install it from F-Droid since the application version is higher on F-Droid than compared to the Play Store.
Use Shizuku in Termux
Go back to Shizuku. Click on “Use Shizuku in terminal apps”, which will bring you to the following screen.
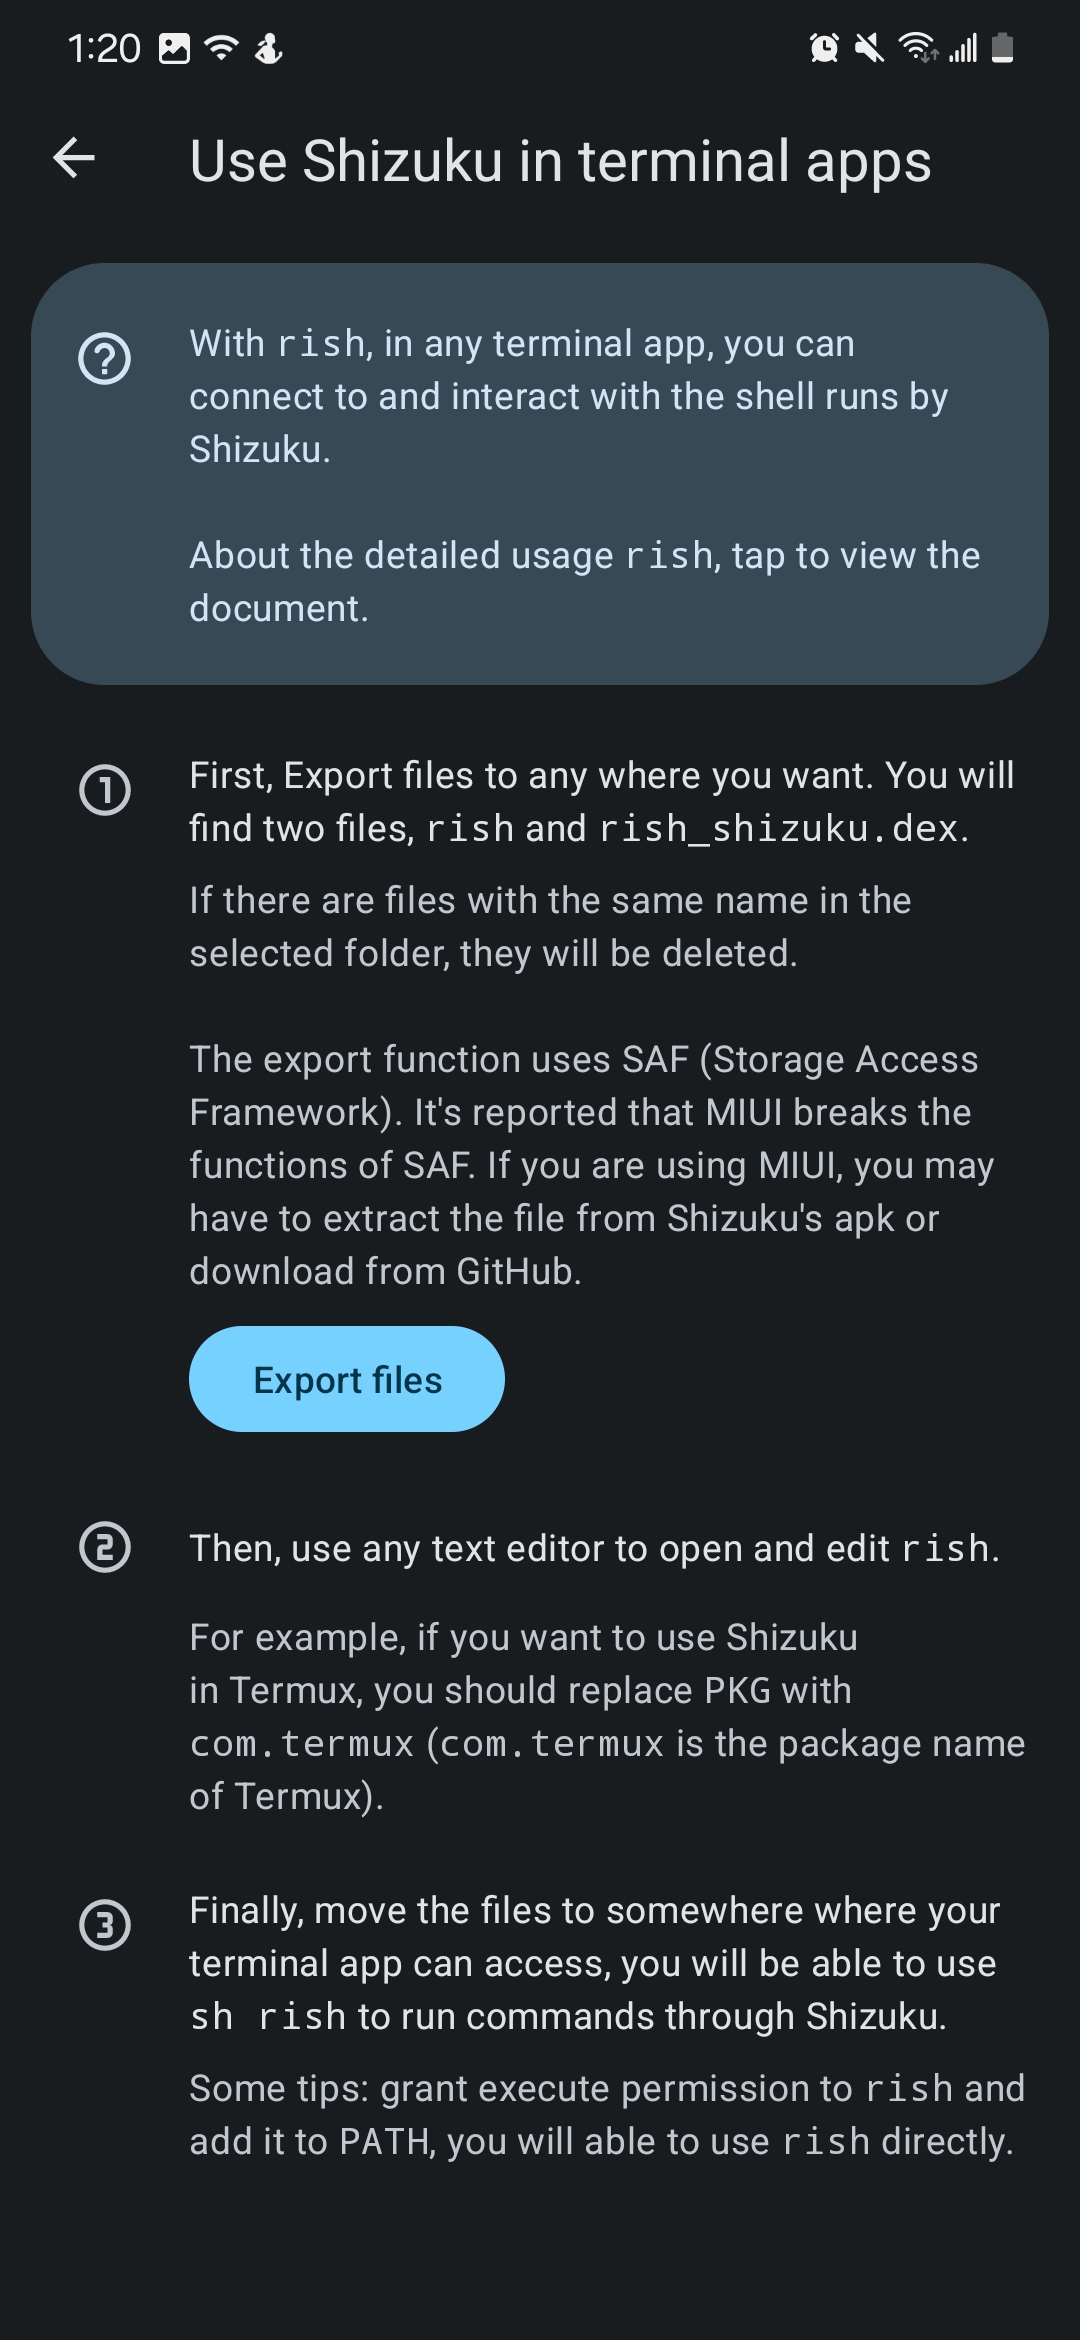
Now, click “Export files” and export the script files to Termux, by clicking the “Show roots” on the top left corner and followed by clicking Termux.
You may also create a folder and place the script files there (I created a folder called “Shizuku” and I placed all the scripts there).

Setting Up Shizuku (rish) in Termux
 Navigate to the folder where you have exported the script files previously by using the cd command.
Basic commands for Terminal Operations
For example, to enter the Shizuku folder, you should enter:
cd Shizuku
Then, to list the existing files in the current folder, you should enter:
ls
Additional steps for Android 14+ user
If you are using Android 14+, or you are not sure what operating system version are you using, you should do the following steps:
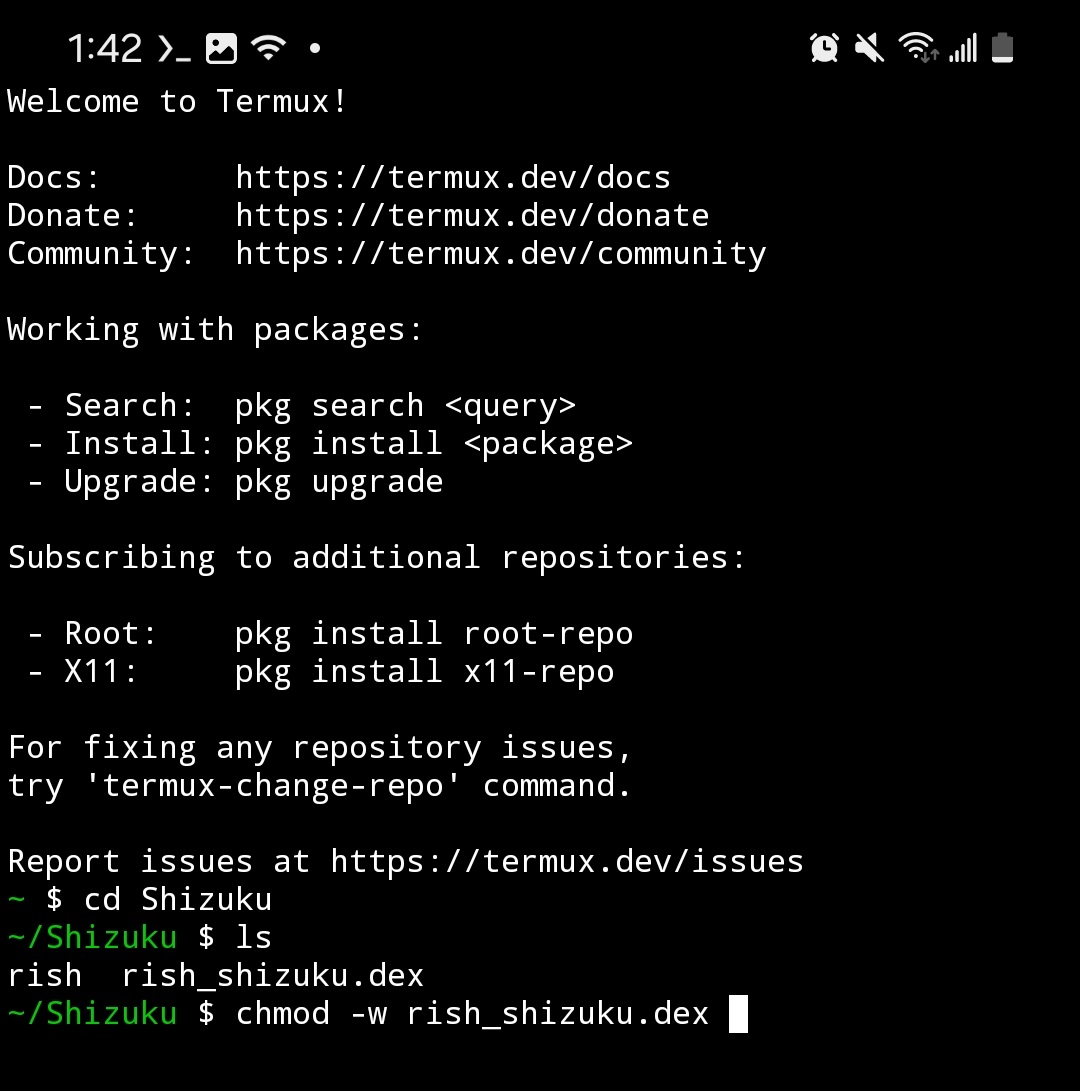
Enter the folder where you placed the rish and rish_shizuku.dex files and execute the following command:
chmod -w rish_shizuku.dex
This is basically a command for changing the permission for this file to make the file to be executable on Android 14. Upon successful command execution, nothing should be prompted.
Preparing a script for changing the resolution
In the same folder where you place the rish and rish_shizuku.dex, execute the following command:
echo "sh ./rish -c 'wm size 1280x1024 -d 2'" > ./change_resolution.sh
Breakdown of the command
sh ./rish -c ‘some ADB shell command’
Call the Shizuku service and execute the ‘some ADB shell command’
wm size 1280x1024 -d 2
Call the Android Window Manager to change the size of the screen with the number 2, which is the external screen you have connected to. The target resolution is 1280x1024, where 1280 is the width with 1280 pixels and 1024 is the height with 1024 pixels.
Remark for the Samsung Galaxy Fold users
Remark: This command is tested on a Samsung Galaxy S23 series without a second screen. If you are using the Samsung Fold series, you probably need to change the -d 2 to another number (maybe -d 3 or -d 4).
Execute the command for changing the screen resolution
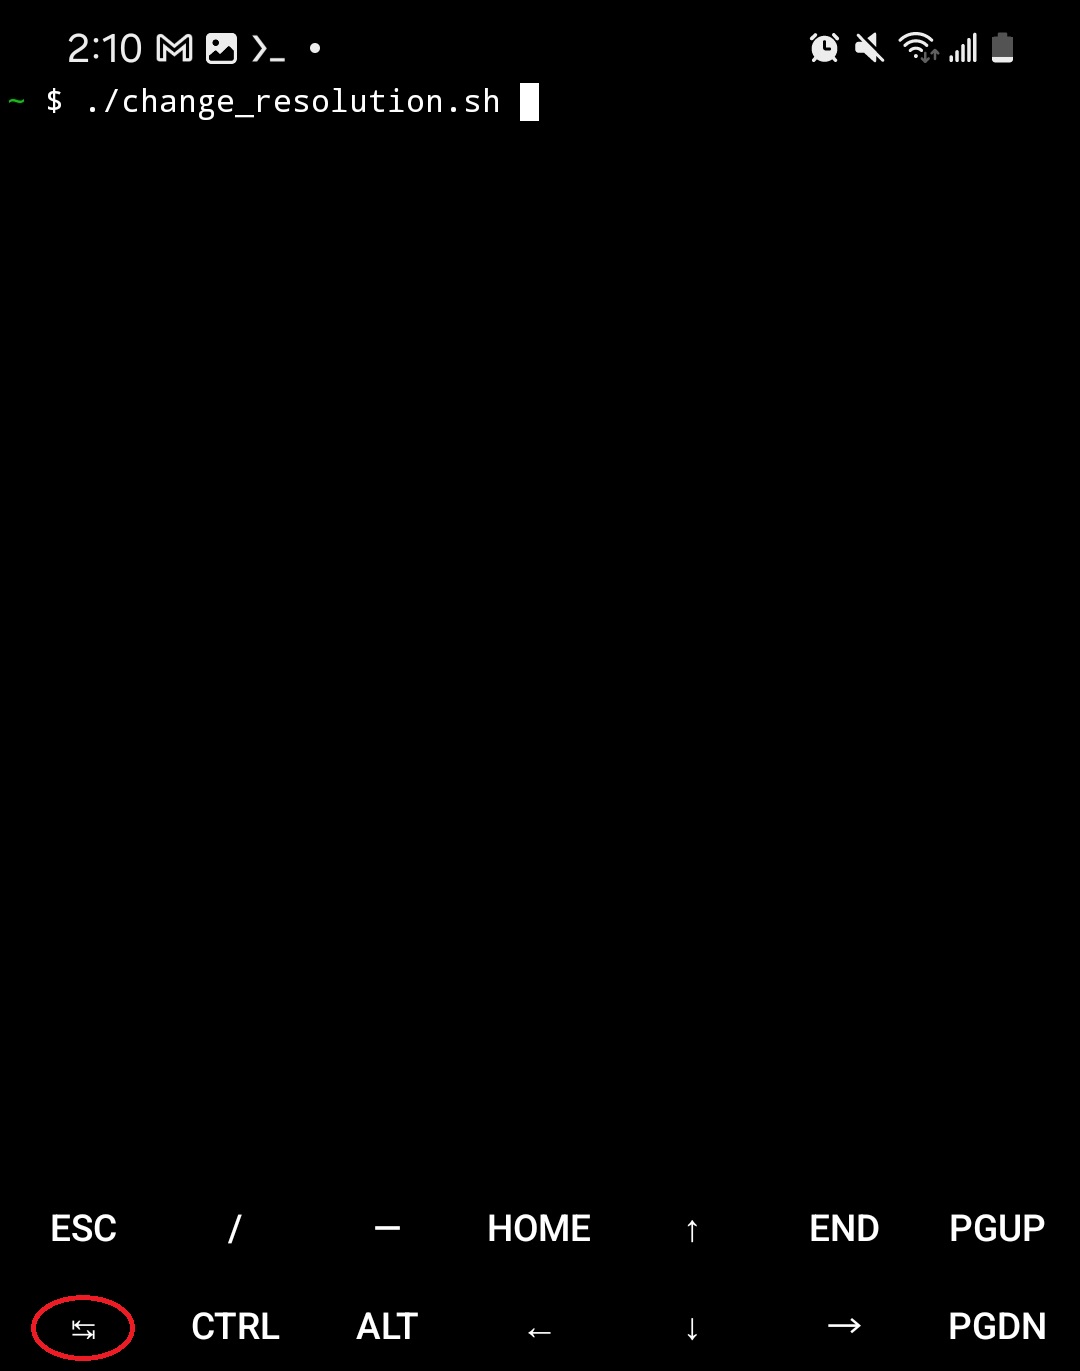
Now, execute the script we have prepared by typing the following command and pressing enter.
./change_resolution.sh
Now, the screen resolution should be changed to 1280x1024. You may change the 1280x1024 to your desired screen resolution.
Additional Tips
Command Auto-Completion
To avoid typing such a long command, you may use the auto-complete function provided by the terminal.
For example, after typing “./cha”, you may tap the “Tab” button (circled in red) to auto-complete the following part of the command.
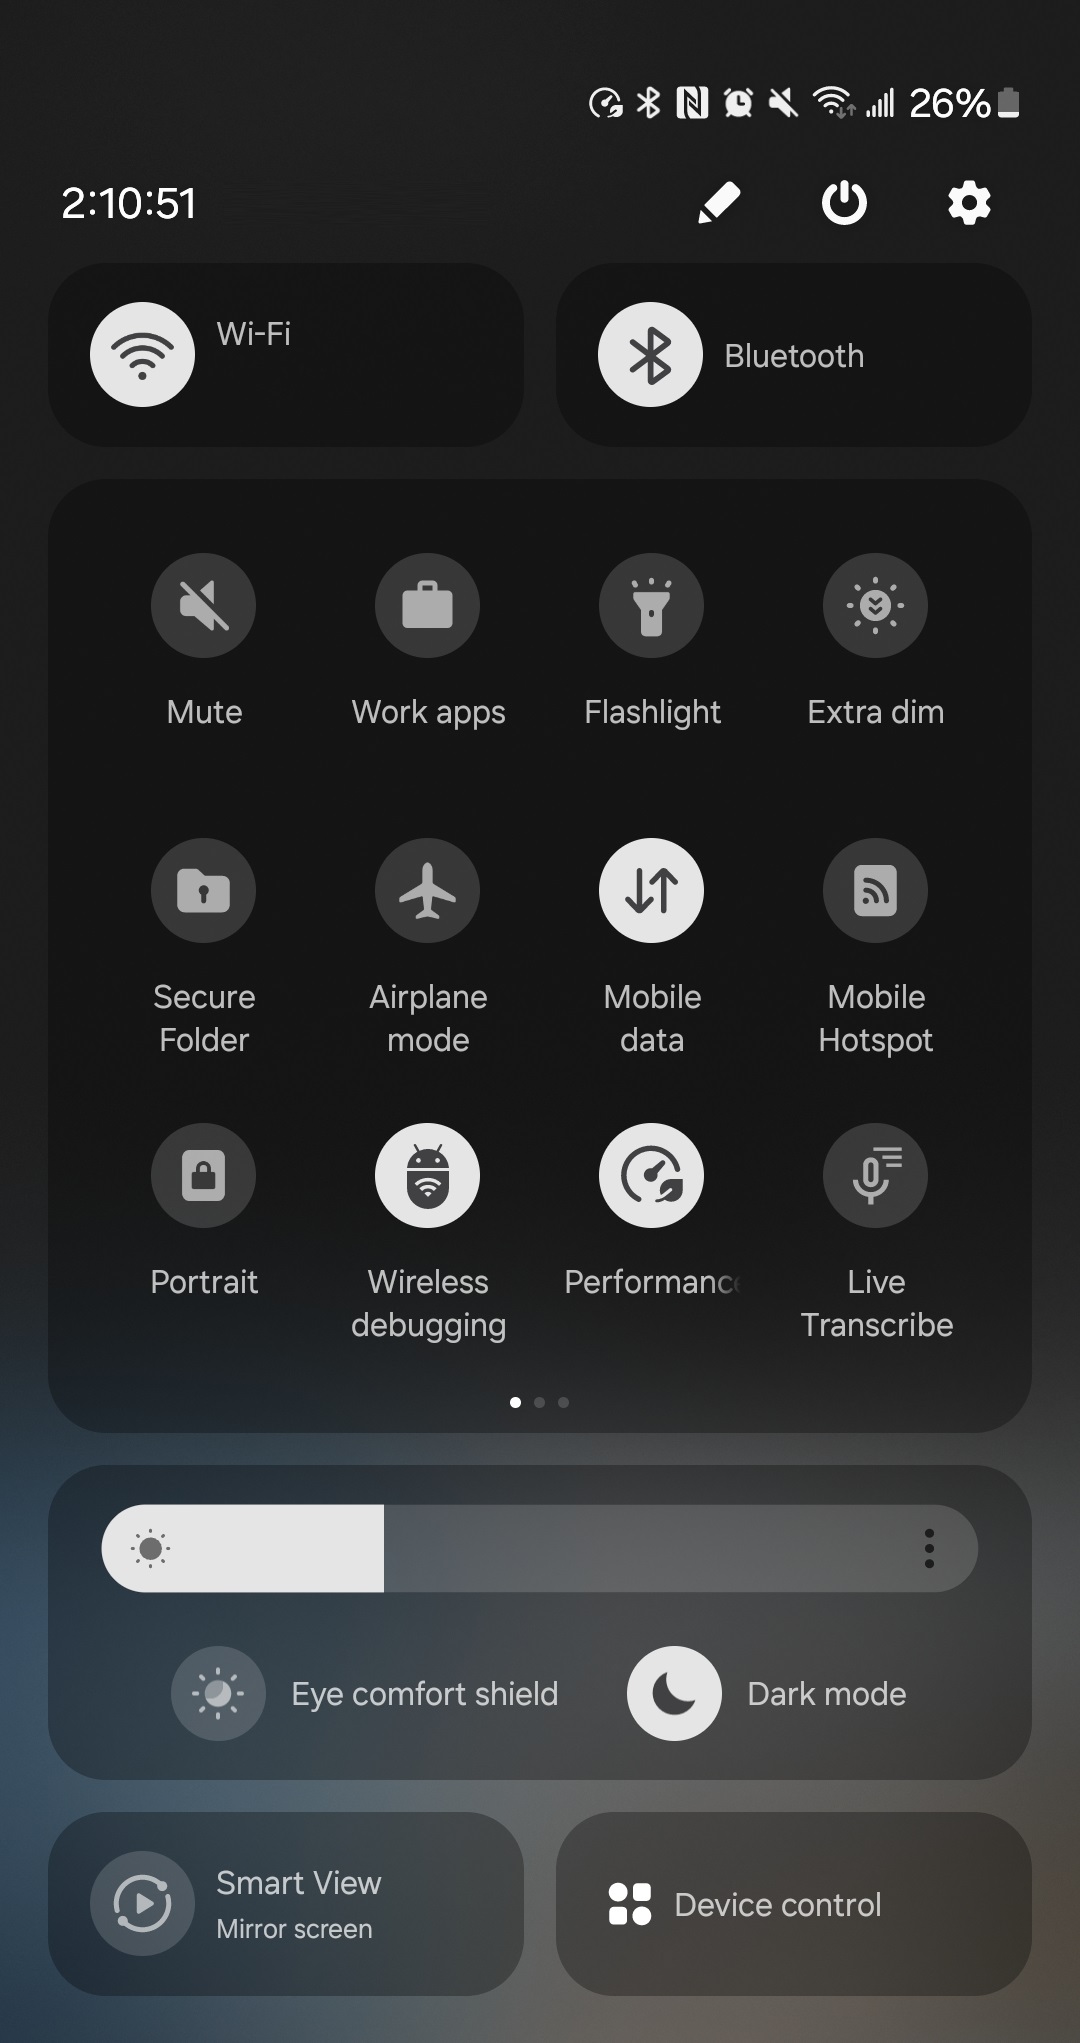
Wireless Debugging Shortcut
The wireless shortcut will be disabled when you shut down the phone. Therefore, every time you boot the phone, you need to enable the Wireless Debugging again.
It sounds tedious. However, you can put the “Wireless Debugging” shortcut in the notification panel to speed up the opening of wireless debugging.